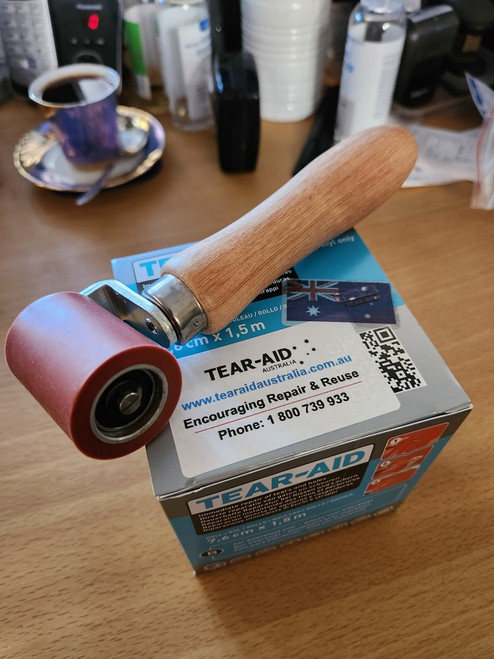
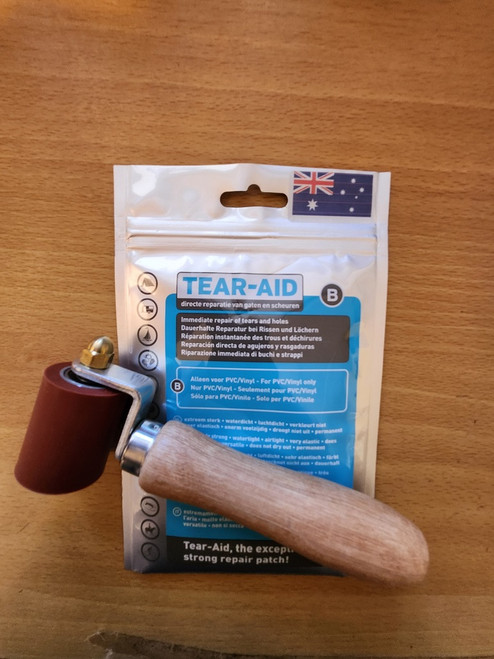
Heavy Duty Silicone Roller - Helps Remove Air Bubbles When Applying Tear Aid Patches
Tear Aid Application Method
1. Measure the damaged area and cut the strip to size (allowing at least 2.5cm on each side of the damage), slightly rounding off the corners. *If damage is long and wide and extensive, make sure you increase the allowance accordingly
2. Clean the damaged area thoroughly with Romed Alcohol Preps
3. Allow the area to dry completely before commencing the repair
4. Remove a little of the backing paper from one end and stick that end down on the surface (*at least 2.5cm from the start of the damage)
5. Gently remove the backing paper while very firmly pressing on the Tear Aid all the way to the end
6. Use this Silicone Roller to remove all air bubbles trapped between the Tear Aid and the surface you're repairing
7. Roll over the entire area again very firmly and allow requires time to set
 USD
USD  Australia
 Europe
 New Zealand
 Russia
 Canada
 United Kingdom
 Brazil
 Romania
 UAE
UAE
 Brunei


